I wish I had a before picture to show you, but I guess a quick description will have to do. The vanity was a typical, builder's grade orange-yellow oak. On top of the vanity, I had a single vase and some soap. Kind of sad looking. The mirror was frameless. You could see the brackets that hold the mirror in place. The walls were the same color, but totally blank. So, overall pretty bland bathroom.
 I found this neato wire rack at Marshall's for only $30. I've added some accessories to it, but still haven't filled in all the available space. They make it look so easy on HGTV, but I really struggle with accessorizing.
  I think the corners of the mirror turned out fairly clean. I used a handheld miter saw and box plus some caulk. I was worried that the corners would look very "first-time DIY-er", but I think they look pretty good.
 I got a little brave and drilled holes into the vanity. I think it was well-worth the risk (Even if it was a small risk).
 The bathroom is so small that I couldn't really get a good shot of everything. Notice the color of the vanity... painted black, not orangey oak.
 Filling in the gaps with caulk.
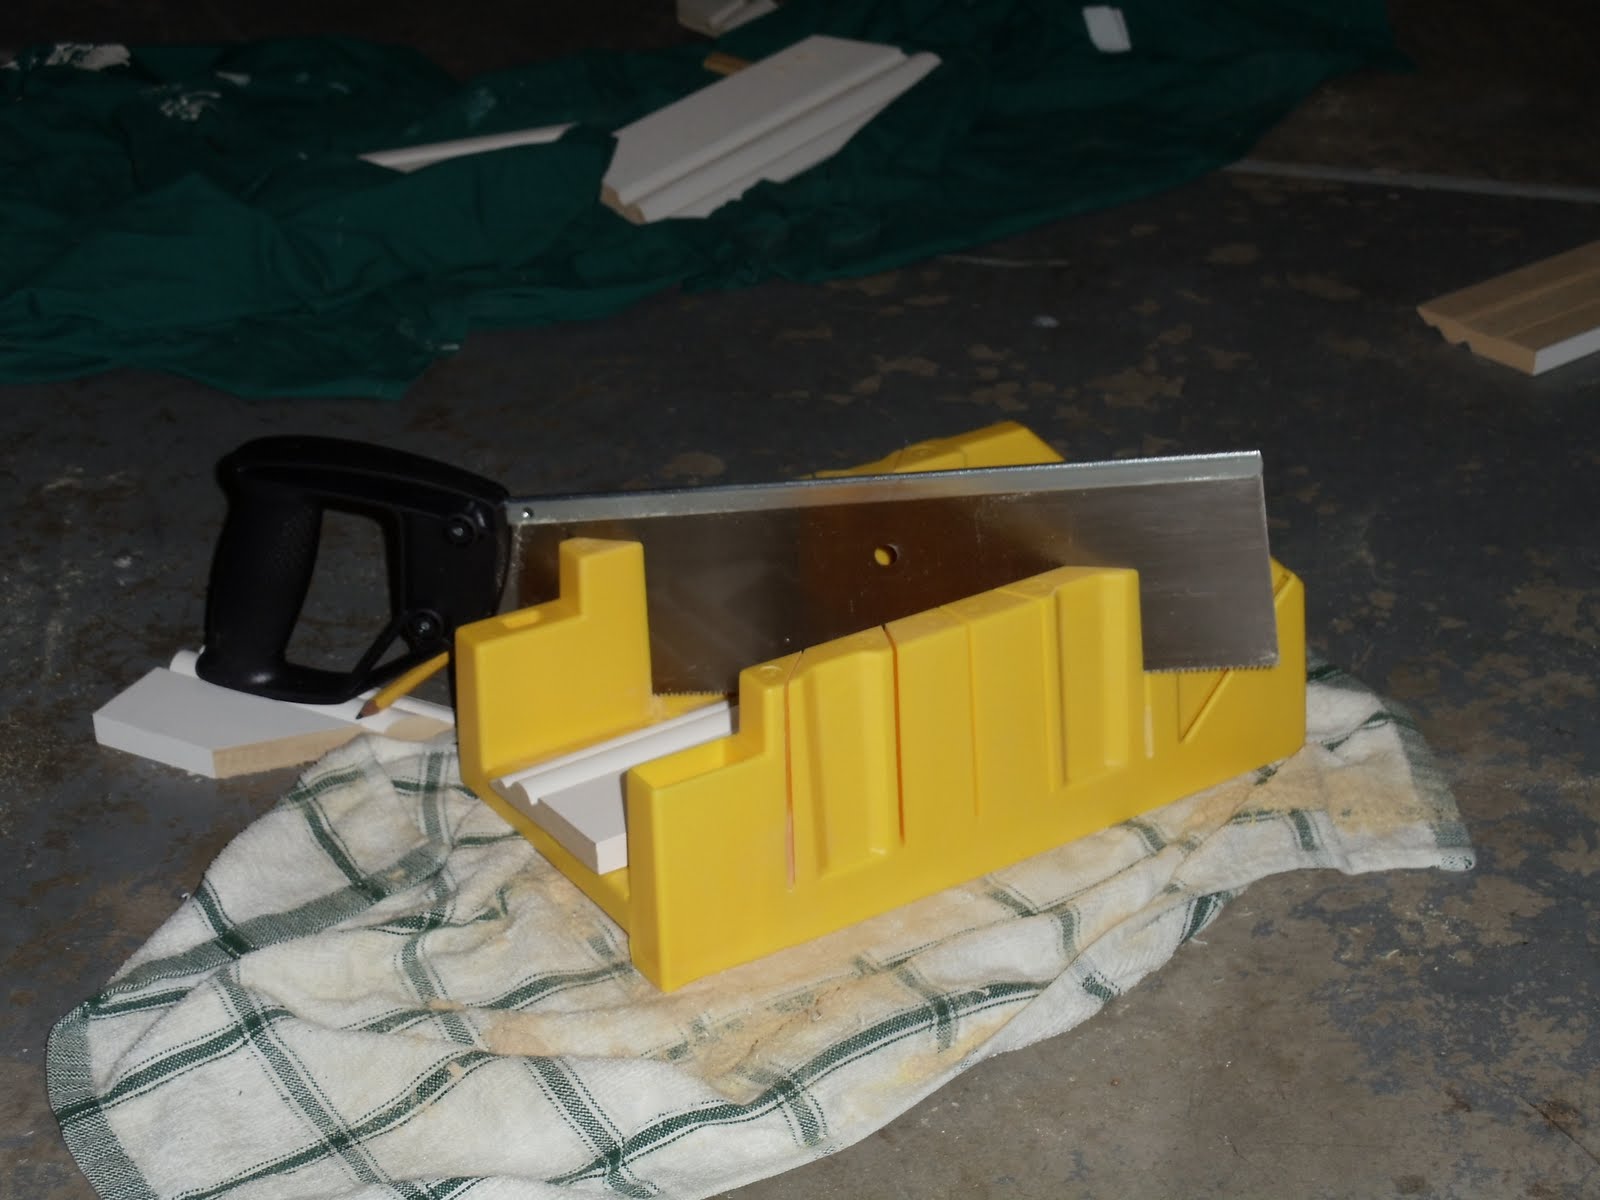

 After several hours of work and just a little bit of money, I think the bathroom is much improved. Humph!